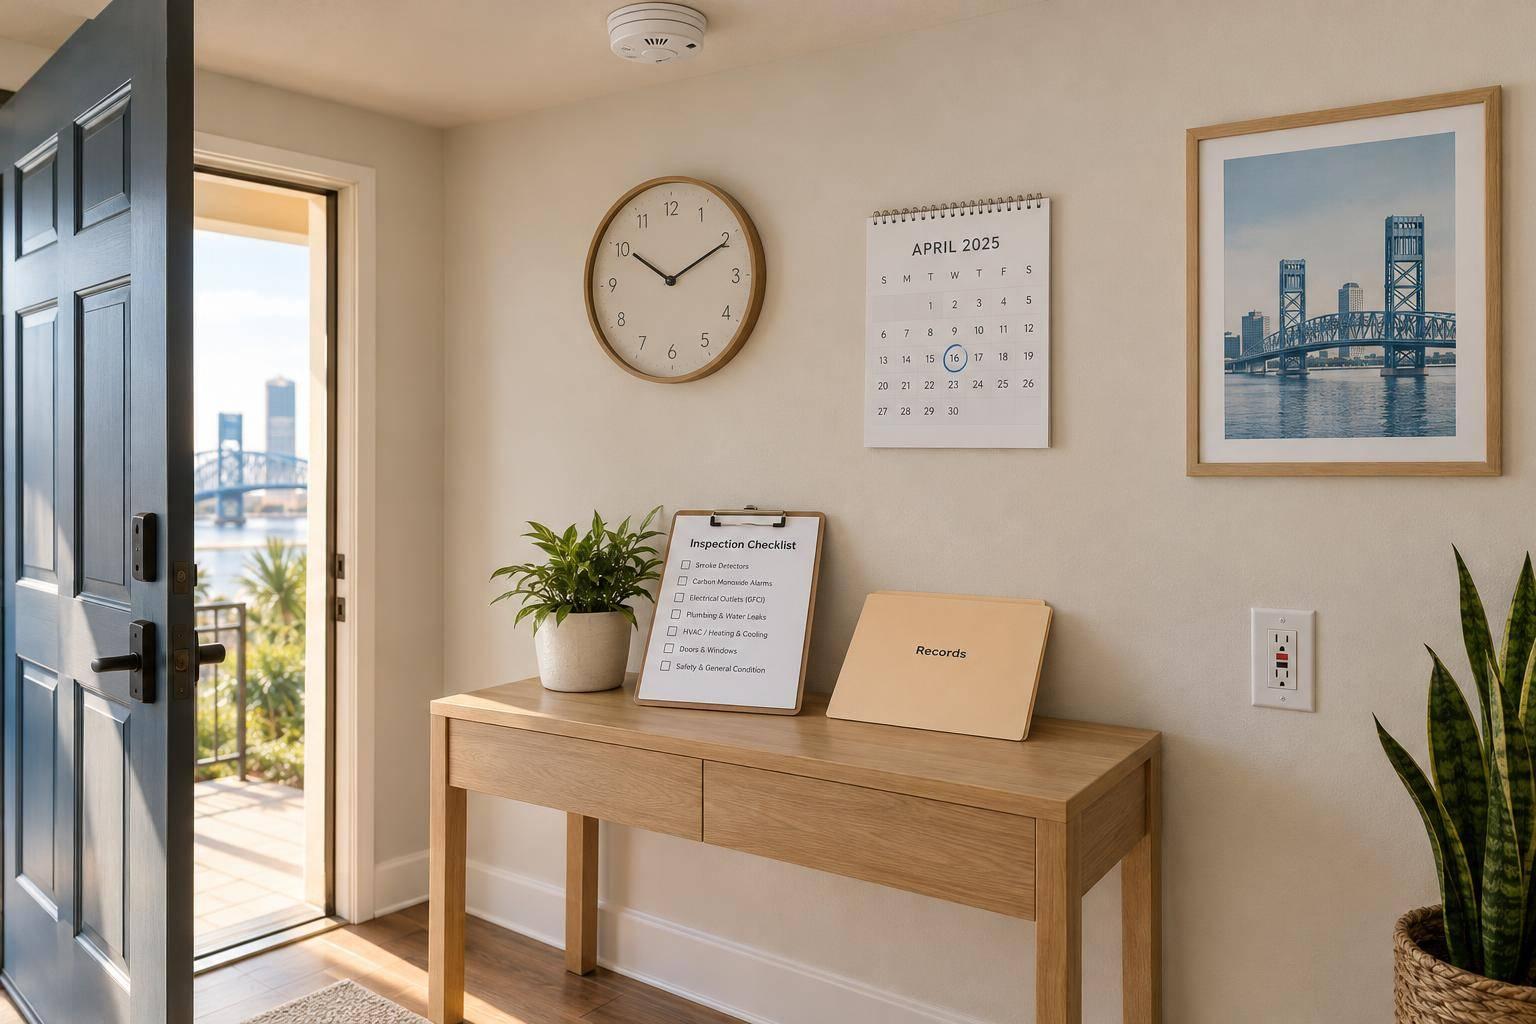
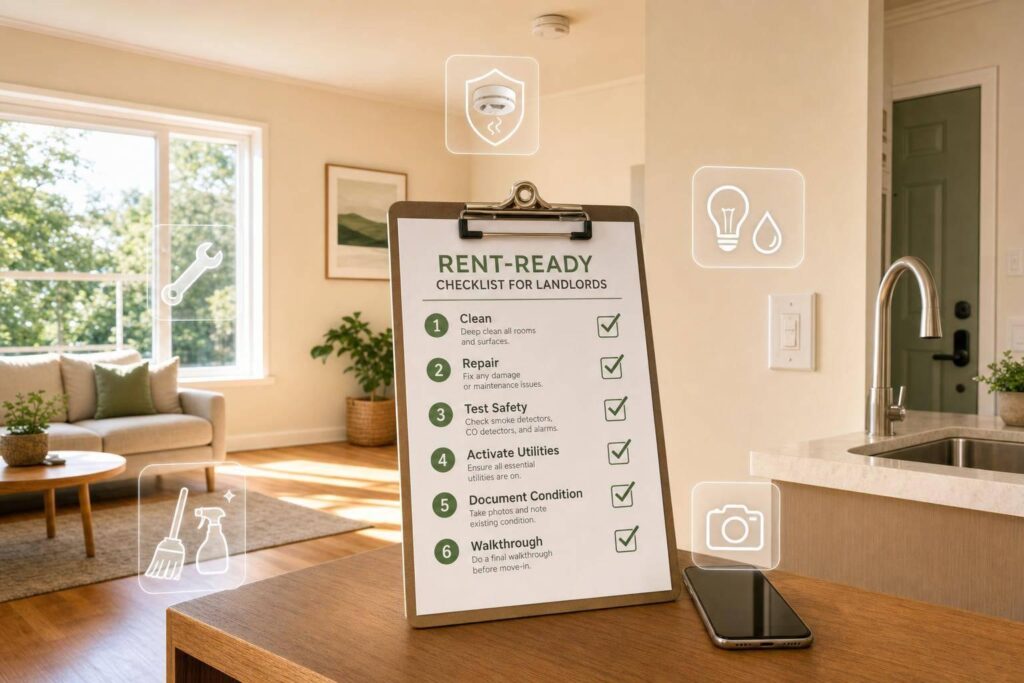
Every vacant day costs you rent, so I treat rent-ready work like a checklist, not a guessing game.
Before I list a Jacksonville rental, I make sure six things are done: clean the unit, fix all problems, test safety items, turn on utilities, prepare keys and access, and document the condition. That means checking HVAC, plumbing, electrical, locks, windows, alarms, pests, appliances, gutters, and yard work – then finishing with photos, records, and a move-in walkthrough.
A few facts stand out:
- Jacksonville gets about 117 rainy days per year, so moisture and mold checks matter
- Florida landlords must provide working basics like plumbing, electricity, hot water, locks, windows, and smoke alarms
- Security deposit timing under Florida law is strict: 15 days to return it in full, or 30 days to send an itemized claim by certified mail
- A move-in inspection often takes only 30–45 minutes, but it can help cut deposit disputes later
If I had to boil the whole process down, it would look like this:
- Inside: deep clean, remove odors, clean appliances, fix caulk/grout, touch up paint
- Systems: test plumbing, outlets, GFCIs, lights, exhaust fans, heating, and cooling
- Safety: check smoke alarms, CO alarms where needed, locks, windows, and pest treatment
- Outside: mow, trim, pressure wash, check lighting, gutters, and drainage
- Move-in prep: confirm utilities are on, test appliances, re-key locks, prepare remotes, keys, and codes
- Records: take timestamped photos, keep receipts and test logs, complete the move-in condition report
This article is a simple summary of the full turnover process, from first cleaning to key handoff.
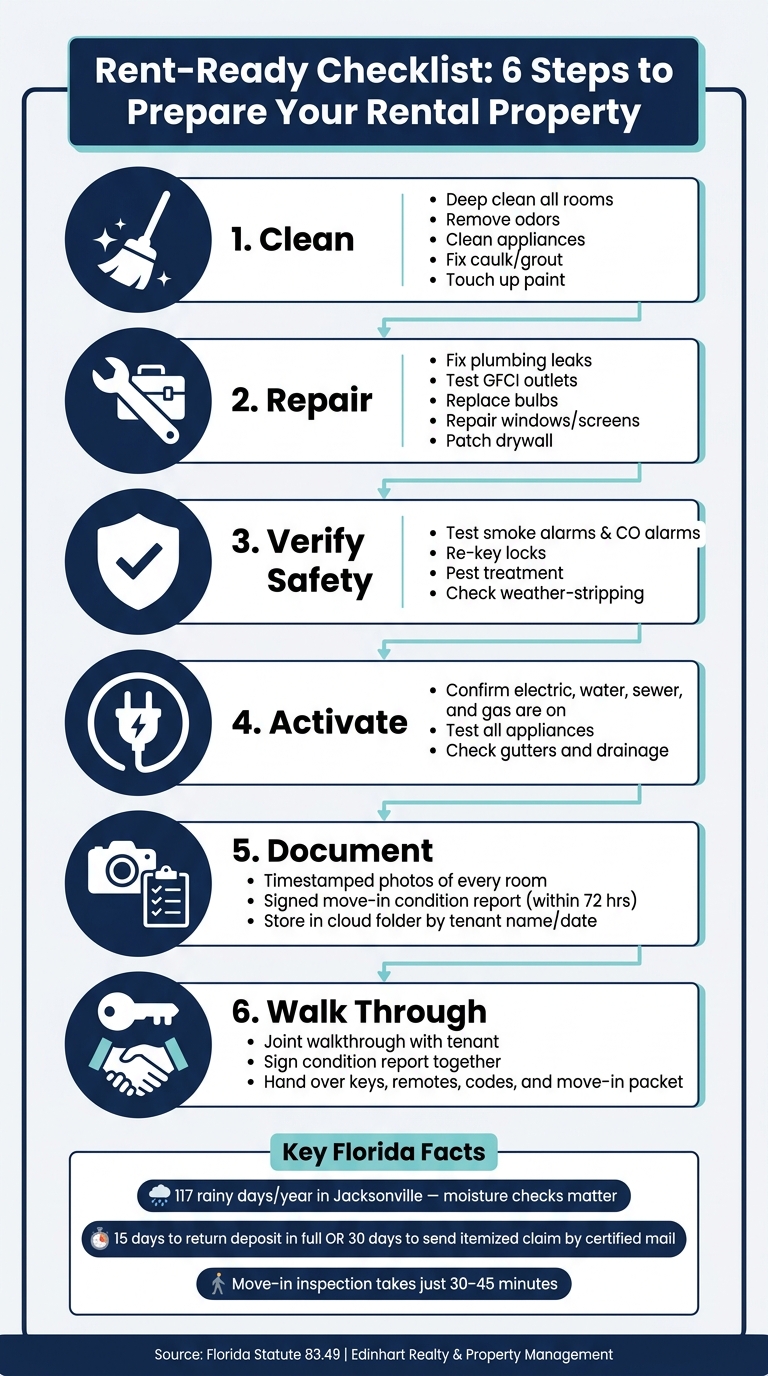
Rent-Ready Checklist: 6 Steps to Prepare Your Rental Property
Interior Cleaning and Turnover Checklist
Kitchens and bathrooms matter most to applicants. So once the unit is repaired and cleared out, go room by room and handle the turnover clean the right way.
One rule saves time and money: finish repairs, drywall patching, and painting before the final deep clean. If you clean first, then patch and paint, you’ll likely end up paying for cleaning twice.
Whole-Home Cleaning
This needs to be a full turnover clean, not a quick wipe-down. Go beyond the obvious spots. Clean ceiling fan blades, vents, baseboards, walls, and ceilings. Wipe light fixtures, replace burned-out bulbs, and clean switch plates and door frames. Sanitize high-touch areas like doorknobs, light switches, and countertops. Closets, garages, and storage spaces should also be empty and free of the last tenant’s belongings and trash.
Odor is another big one. Don’t cover it up with air freshener. Find the source and deal with it. Carpet pads and HVAC filters often hold smells longer than people expect.
Jacksonville gets 117 rainy days each year, so a musty smell during turnover cleaning isn’t something to shrug off. It can point to moisture trouble or early mold.
Kitchen, Bathrooms, and Flooring
Deep clean kitchens and bathrooms from top to bottom. That includes sinks, tubs, toilets, appliances, cabinet interiors, and seals. Clean every appliance inside and out, including the refrigerator, oven, dishwasher, microwave, and vent hood. If there’s hard-water buildup on faucets or shower glass, remove it.
Wet areas need extra attention. Replace worn or failed caulk and grout to help stop moisture damage before it starts.
Flooring also needs a full reset. Deep clean all floors, including professional carpet extraction. Repair or refinish hard surfaces as needed, especially in units where pets lived before.
Windows, Blinds, and Paint Touch-Ups
Wash windows inside and out, and don’t skip the tracks or sills. Check window screens and make sure locks work the way they should. Clean blinds, or replace them if they’re broken or full of dust. Touch up scuffed walls, trim, and doors. Use a neutral paint color for worn areas, and repair cracks in door or window frames.
After these cosmetic touch-ups, move to repair, safety, and habitability checks.
sbb-itb-73b3b1a
Repairs, Safety, and Florida Habitability Checks
Once the cleaning is done, the next step is checking the systems that make the home safe and livable. In Florida, plumbing, electrical, and HVAC systems need to work and be in safe condition before a tenant moves in. The checklist below helps you go from core system checks to locks, alarms, and pest work.
Use this checklist to verify each system before move-in:
| System Category | Required for Habitability | Typical Rent-Ready Tasks |
|---|---|---|
| Plumbing | Working toilets, hot water, no active leaks | Flush water heater, check under-sink drains, re-caulk tubs/sinks |
| Electrical | Safe wiring, working outlets and lighting | Replace burnt-out bulbs, test GFCI outlets |
| HVAC | Functional heating and cooling | Replace the filter, clean ducts, and test the thermostat |
| Structure/Access | Secure locks, operable windows, weather-tightness | Re-key locks, repair window screens, check weather-stripping |
| Safety/Pests | Working smoke alarms; CO alarms where required; no active infestations | Install new batteries, preventive pest spray, termite check |
Plumbing, Electrical, and HVAC Systems
Start with plumbing. Run every faucet, flush every toilet, and look under every sink. A small drip under a vanity or around a toilet base can turn into a bigger mess fast. Check the water heater for signs of leaking, flush it once a year to clear sediment, and make sure hot water is ready before move-in.
Then move to electrical. Test every GFCI outlet in kitchens and bathrooms to make sure each one trips and resets the way it should. Replace burnt-out bulbs with matching wattages, and check that bathroom exhaust fans are working.
HVAC comes next. If the system fails at move-in, fix it before the unit is occupied. Replace the air filter, test both heating and cooling cycles, and confirm the thermostat is working and displaying in °F.
Doors, Windows, Locks, and Exterior Access Points
Once the main systems check out, go point by point through every entry and exit. Re-key all exterior locks between tenants. Test each deadbolt and latch so you know they close fully and work without sticking. Open and close every window, then check that each one locks the way it should. While you’re there, look for cracked frames, torn screens, and worn weather-stripping around doors and windows.
Smoke Alarms, Carbon Monoxide Alarms, and Pest Control
Test every smoke alarm, make sure alarms are placed on the required levels and near sleeping areas, and log the date and location of each test. Install and test CO alarms where required.
In Jacksonville, heat and humidity make pests a year-round issue. Ants, roaches, and termites don’t need much of an invitation. Schedule a professional preventive treatment during turnover, and seal visible entry points around pipes, baseboards, and exterior walls.
After safety devices pass, move to exterior and move-in preparation.
Exterior, Utilities, and Move-In Preparation
Once the inside is handled and the safety checks are done, turn your attention outside. This is where the home starts to feel ready, not just repaired.
Yard, Entry, and Curb Appeal
Start with the basics: mow the lawn, trim bushes, pull weeds, and cut back any tree branches hanging near the roofline. Then pressure wash the siding, sidewalks, patios, and decks to remove mold and mildew before the new tenant shows up.
Next, check every entry point. Make sure stair and deck railings are secure, fix cracks in exterior door and window frames, and swap out any dead exterior bulbs. Good lighting does two jobs at once: it helps with safety and gives the place a better first look. The house number should be easy to see from the street, and the entry door should be clean.
After the outside looks clean and secure, move on to utilities and appliances.
Utilities and Appliance Readiness
Every utility – electric, water, sewer, and gas, if the property has it – should be active and working before the lease start date. Don’t assume the transfer went through. Verify each one directly with the provider.
Once service is on, test the main appliances yourself:
- Oven and burners
- Dishwasher
- Refrigerator
- Garbage disposal
- Vent hood
Also clean the gutters and make sure the downspouts push water away from the structure. That small check can save you from a much bigger mess later.
Then review access items before move-in.
Move-In Supplies and Access Control
Before you hand over keys, confirm the exterior door locks have been re-keyed or replaced. Then account for every item the tenant will need: door keys, mailbox keys, garage remotes with fresh batteries, and any gate codes or fobs. Test each one yourself. If something sticks, fails, or feels off, fix it now – not on move-in day.
Put together a move-in packet with:
- Trash pickup schedules
- Utility contacts
- Appliance manuals
- Active service agreements
Record every key, remote, code, and fob you issue, including the quantity and who received it. Also spell out lawn-care responsibility in both the lease and the move-in packet.
Documentation, Final Inspection, and Next Steps
With the unit ready for move-in, finish the records that can save you a major headache later.
Condition Photos, Inspection Records, and Lease File Documents
Once access is set, document the unit before the tenant gets the keys.
Take timestamped photos of every room, the inside of appliances, fixtures, and any scuffs, scratches, or small flaws already there. The goal is simple: show the unit’s starting condition as clearly as possible. Store those files in a cloud folder labeled with the tenant’s name and move-in date.
Then match those photos with a signed written move-in condition report completed within 72 hours of move-in. Add your maintenance receipts and safety device test logs, and you have a paper trail you can lean on if a deposit dispute comes up.
"If a defect would matter during a deposit dispute, photograph it before the listing ever goes live." – Edinhart Realty and Property Management
Here’s a quick file checklist for Jacksonville landlords:
| Document Type | Purpose | When Completed | Storage Practice |
|---|---|---|---|
| Signed Lease Agreement | Legal terms and responsibilities | Before move-in | Digital cloud + physical lease file |
| Move-In Condition Report | Baseline for deposit comparison | Within 72 hours of move-in | Digital copy + physical lease file |
| Timestamped Photos/Video | Visual proof of rent-ready state | Day of move-in | Cloud folder by tenant name/date |
| Security Deposit Receipt | Proof of funds held in escrow | Upon receipt | Accounting software + lease file |
| Utility and Meter Records | Meter readings and utility transfers | At move-in | Lease file + utility records |
| Smoke/CO Alarm Test Log | Functional safety device documentation | During final walkthrough | Maintenance log + lease file |
| Professional Cleaning Receipt | Proof of deep-clean standard | Before advertising | Digital folder + tax records |
| Key & Remote Sign-Out Log | Tracks all access hardware issued | At key handoff | Physical lease file |
Under Florida Statute 83.49, you have 15 days to return a full security deposit or 30 days to send an itemized claim by certified mail. Keep landlord-tenant records for at least 7 years.
After the file is complete, do one last joint walkthrough so the paperwork matches the unit.
Final Walkthrough Before Keys Are Released
Walk the unit with the tenant, go line by line through the condition report, and sign it together before handing over the keys. That shared sign-off helps close the loop and cuts down on back-and-forth later.
"A move-in inspection takes 30–45 minutes. It protects your security deposit claims, prevents disputes, and gives tenants confidence that you’re fair." – True North Managed
Key Checklist Takeaways for Landlords
A rent-ready turnover comes down to six non-negotiables: clean, repair, verify, activate, document, and walk through.
Miss even one, and the odds of disputes or liability go up. If the process is eating too much of your time, 1 Realty Management offers rent-ready services in Jacksonville.
FAQs
How long does it take to get a rental rent-ready?
At 1 Realty Management, the aim is to get your property rent-ready within 7 to 10 days after the previous tenant moves out.
That timing depends on how much work the property needs. We inspect it right away, line up any needed repairs fast, and move the turnover along to help cut down vacancy.
What should I fix before listing a vacant unit?
Before you list a vacant unit, put your attention on habitability, safety, and curb appeal. That means starting with a thorough move-out inspection and then tackling the repairs that matter most first: HVAC, plumbing, and electrical.
Next, check the basics that protect both you and the next tenant. Make sure smoke and carbon monoxide detectors, locks, stair rails, and exit paths all work as they should.
Then handle the finishing work that shapes first impressions. Do a deep clean, treat any mold or mildew, apply fresh neutral paint, and inspect the exterior, including gutters, roofing, and landscaping.
What records should I keep at move-in?
Keep a complete file for each new tenancy. Include:
- the signed, dated lease agreement
- a signed move-in inspection checklist
- timestamped photos or videos of every room
- receipts for initial payments
Store copies in digital form with cloud backup and in a physical lease file for at least 7 years.