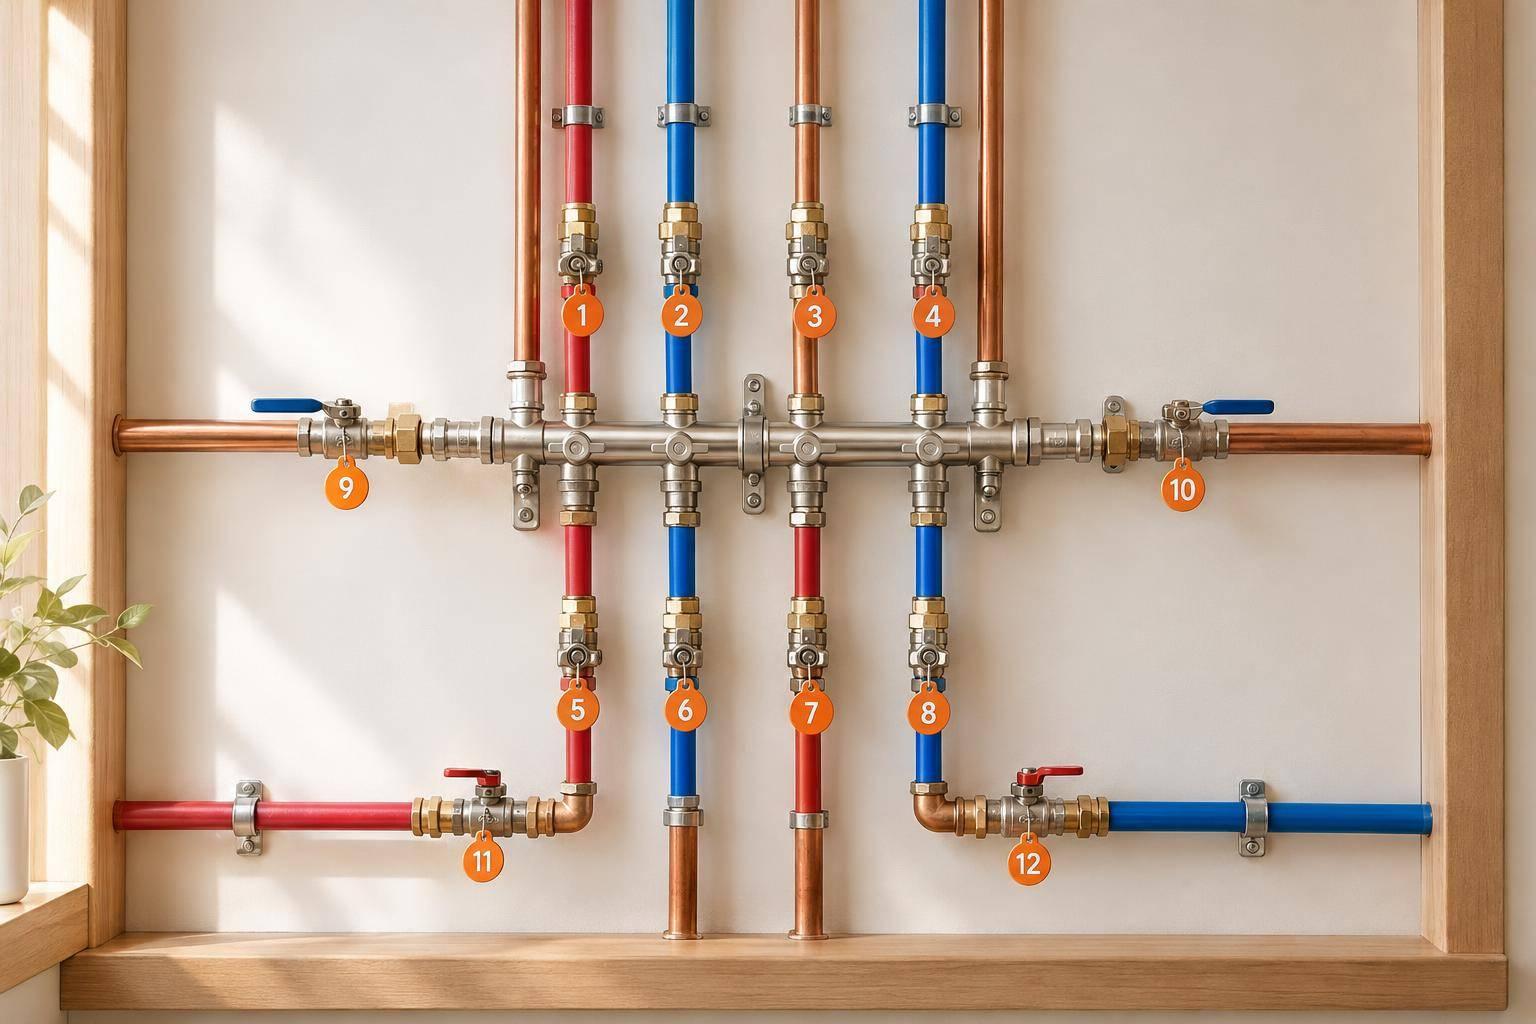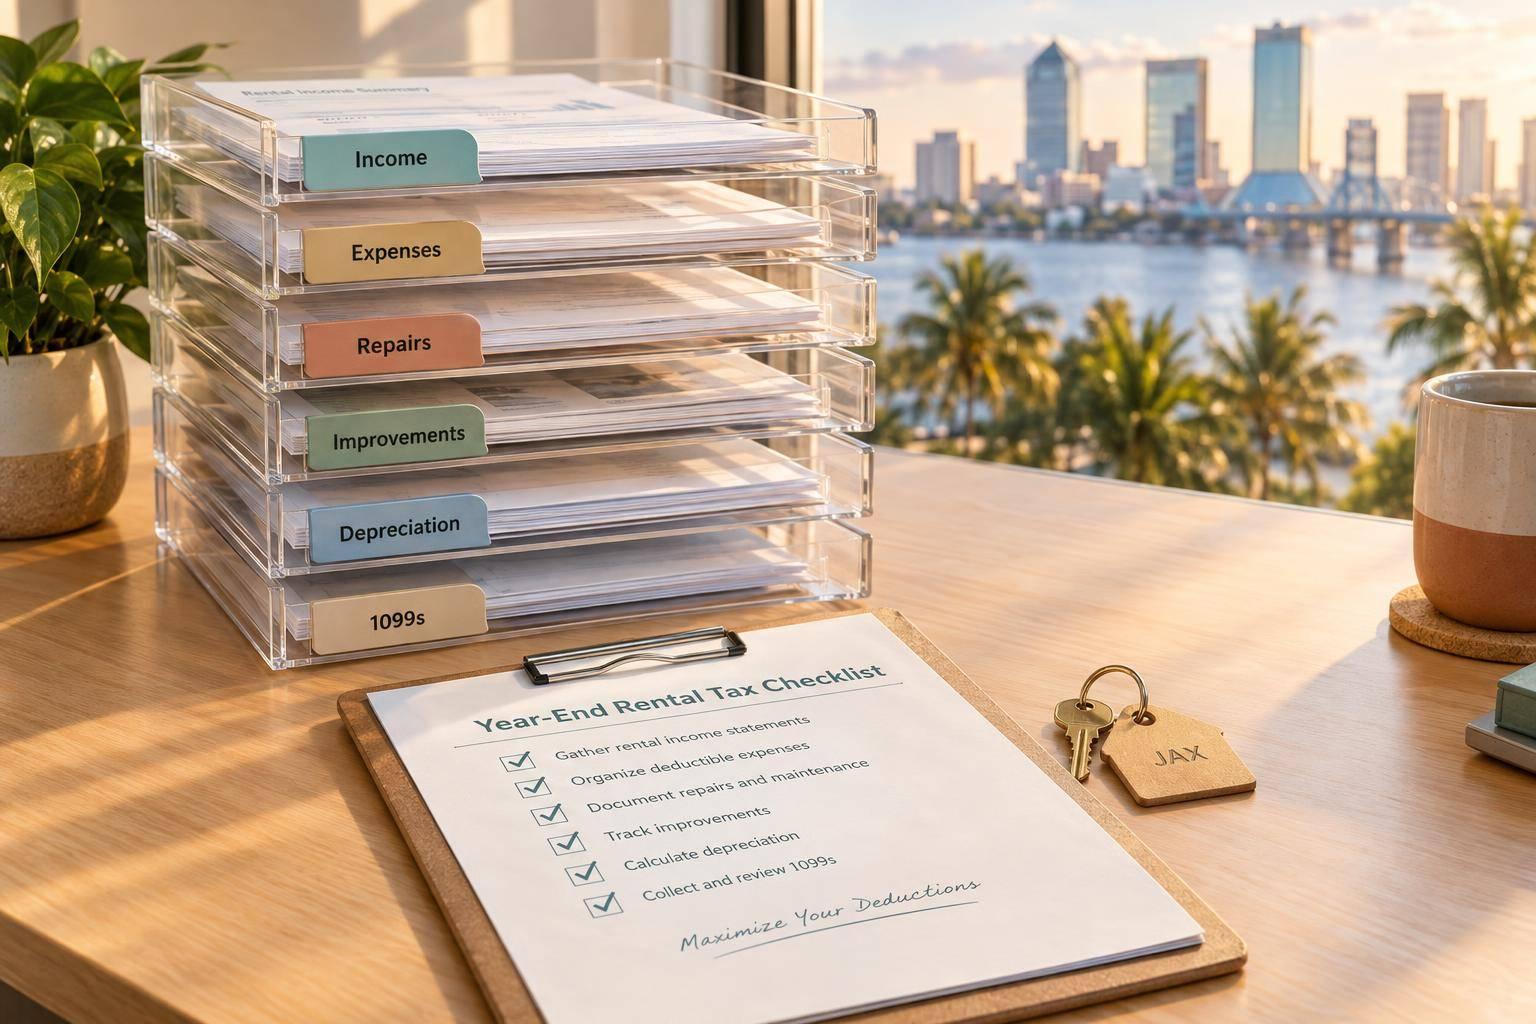
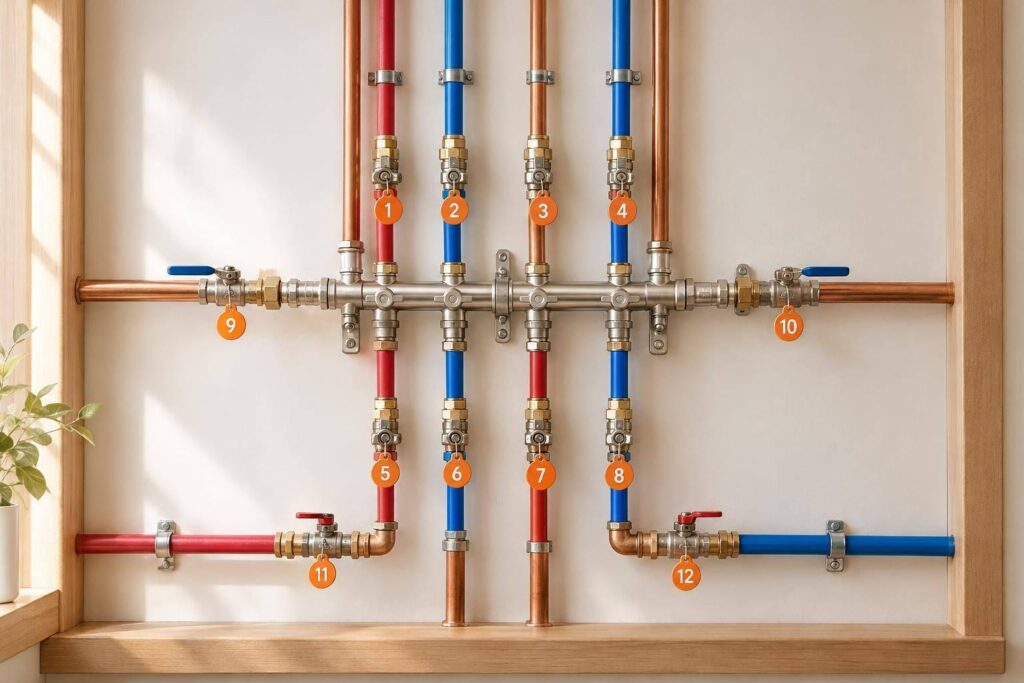
I check rental plumbing before move-in, at move-out, and at least once a year – and address active leaks right away. For Jacksonville rentals, I also plan quarterly checks of accessible plumbing and follow up after storms, freezes, or tenant reports.
Here’s my 12-task checklist:
- Inspect visible pipes for leaks.
- Test fixture and main shut-off valves.
- Measure water pressure and inspect supply lines.
- Test sink, shower, and tub drains.
- Check faucets for drips and leaks.
- Test toilet flushing and silent leaks.
- Inspect water-heater condition and safety.
- Check hose bibs and exterior connections.
- Inspect irrigation lines and backflow equipment.
- Test washer and appliance plumbing.
- Check sewer cleanouts and backup warning signs.
- Record move-in and move-out plumbing conditions.
A small drip matters: EPA WaterSense says one faucet dripping once per second can waste more than 3,000 gallons a year. I document defects, arrange qualified help, and <u>retest repairs before closing the work order</u>. For occupied rentals, I coordinate access and follow current notice rules. The goal: catch problems, stop damage, and keep a clear repair record.
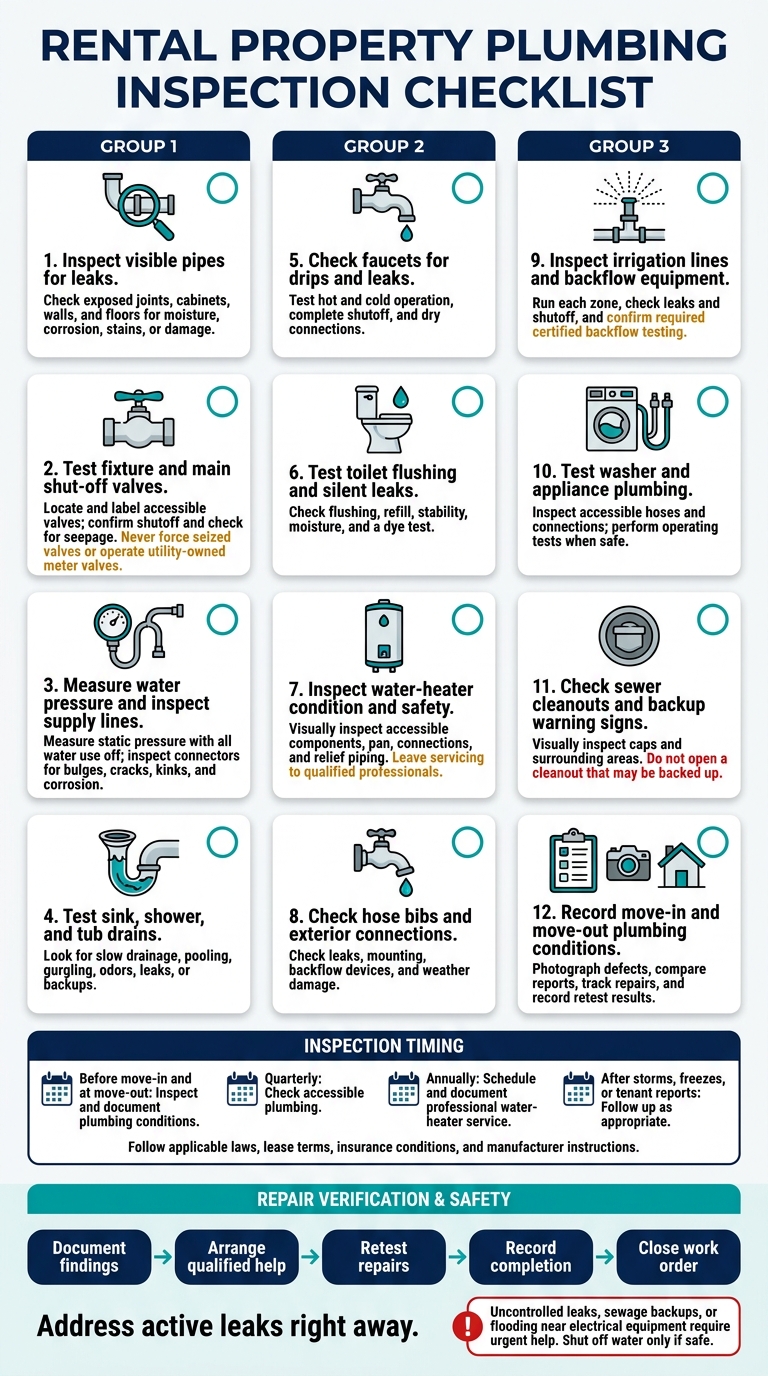
Rental Property Plumbing Checklist: 12 Tasks
1. Check Visible Pipes for Leaks
Start with exposed plumbing, where small leaks usually appear first. Check it quarterly and after any report of a leak, odor, stain, or water damage. Grab a flashlight and inspect pipes, joints, valves, under-sink cabinets, laundry hookups, crawlspaces, and nearby ceilings or walls.
Watch for moisture, corrosion, rust, soft or swollen materials, peeling paint, warped flooring, dark stains, musty odors, and mold growth. At the water heater, check the tank exterior, fittings, shutoff valve, temperature and pressure relief pipe, drain pan, and surrounding floors and walls. Don’t ignore dry stains. They often point to a leak that comes and goes.
Run nearby fixtures for several minutes while watching the connections, then check again for moisture. A dry paper towel beneath a suspect joint or supply-line connection can help reveal tiny drips. Jacksonville’s humidity can cause condensation, but persistent moisture still needs a closer look.
Get help immediately for active or fast-spreading leaks, softened flooring, sagging ceilings, or water near electrical equipment. If water reaches wiring or outlets, shut off power only if it’s safe, and call a licensed electrician before restoring power.
Once you’ve stopped the moisture source, dry wet materials as soon as possible. EPA guidance recommends drying them within 24 to 48 hours when possible. Don’t paint over stains or mold-like growth before fixing the cause.
Document the affected area, whether moisture appeared while fixtures were running, photos, the repair, and the results of your follow-up check.
Next, move to shut-off valves.
sbb-itb-73b3b1a
2. Test Fixture and Main Shut-Off Valves
Locate and label every accessible shut-off for sinks, toilets, washing machines, water heaters, dishwashers, and hose bibs. Identify the owner-accessible main shut-off, which may be in a garage, utility closet, exterior wall, or near the water meter. For multifamily properties, also note unit, building, and equipment shut-offs. Keep access clear, but do not operate utility-owned meter valves. If ownership is unclear, contact the water provider.
Before testing, notify tenants and stop any active water-dependent cycle. Make sure no appliance, irrigation, or maintenance cycle needs the water supply. Follow manufacturer instructions for connected equipment. Never shut off a fire-sprinkler supply without qualified authorization.
Test each fixture valve separately, using hand pressure only. Close it slowly, then briefly open the connected fixture to confirm that water flow stops. Return the valve to its normal operating position. Check the stem, packing nut, threaded connection, and nearby supply line for seepage. Wipe the area dry and check again after several minutes. Do not use tools to force a seized valve. Stop if the piping moves or the valve begins leaking. Add any failed valve to the repair list before testing the main shut-off.
Test the main shut-off during the coordinated water interruption. Close it slowly, open a lower faucet to relieve pressure, and confirm that flow stops. Reopen the valve slowly, restore normal service, and check the stem, body, and connections for leaks or movement.
Arrange repairs for missing, blocked, damaged, leaking, or ineffective valves. Hire a licensed plumber for seized valves, main-valve replacement, and work beyond routine inspection. Record each valve’s location, label, test date, flow result, leaks, and retest outcome. Tell tenants where the emergency shut-off is, but do not share restricted access details. Once the valves are verified, check water pressure and supply lines.
3. Check Water Pressure and Supply Lines
Pressure problems can strain fixtures and supply lines, causing leaks and tenant complaints. Measure static water pressure quarterly and whenever tenants report pressure problems. Use a hose-bib pressure gauge that reads in psi, and test at the same connection near the building’s water entry point each time.
Turn off all water use, including irrigation, appliance cycles, and toilet refills. Attach the gauge, open the bib fully, and record the steady reading. Water must be off throughout the building: flowing water gives a dynamic pressure reading, not a static one.
EPA WaterSense recommends 45–60 psi at the incoming supply. If pressure stays above 80 psi with all water off, have a licensed plumber review the pressure-reducing valve (PRV) and thermal expansion. Do not adjust the regulator yourself. Also refer persistently weak flow or sudden pressure changes for diagnosis, even if the static reading falls within the recommended range.
Check accessible supply connectors under sinks, behind toilets, and at washing machines, dishwashers, water heaters, and refrigerator ice makers. Look for bulges, cracks, fraying, kinks, corrosion, mineral buildup, poor support, and wet joints. Arrange prompt professional replacement of damaged hoses with properly rated parts. Don’t patch them or wait for a leak.
For Jacksonville multifamily rentals, record whether complaints affect one fixture, one unit, or the whole building. Weak flow at one faucet may point to its aerator or connector. Building-wide symptoms may point to a shared PRV, booster system, or municipal supply. Note whether problems occur during irrigation or other high-demand periods. These details help separate unit-level fixture issues from building-wide pressure problems.
Log the gauge location, static psi, and water-use conditions. Retest after repairs and record the final reading. Next, test sink, shower, and tub drains for slow flow or backup.
4. Test Sink, Shower, and Tub Drains
After checking water pressure and supply lines, test drain flow to catch slow backups before they spread. Test every drain quarterly, at move-in and move-out, and after complaints or repairs. Run each fixture separately at normal flow for several minutes. Partially fill sinks, then release the stopper. Watch showers and tubs for pooling, and stop before water reaches the overflow.
Watch for standing water, gurgling, odors, or wastewater backing up into another fixture. These problems can lead to tenant complaints and water damage. Check the accessible P-trap beneath each sink, along with nearby cabinets and flooring, for moisture. A drain passes when water flows freely, with no leaks, backups, or persistent odors.
Remove visible debris using gloves or a drain tool. Use a plunger only for an isolated clog, then test the drain again. Leave trap removal and powered augers to qualified personnel. Avoid chemical drain cleaners, and tell the plumber if any were used.
A single slow fixture usually points to a local clog. Multiple slow fixtures, toilet bubbling, or backups elsewhere suggest a shared drain or sewer problem. Refer recurring clogs, persistent gurgling, and foul odors to a licensed plumber. For sewage backup or active overflow, stop using affected fixtures and request urgent service. An unused drain may smell because its trap is dry, but an odor that returns needs investigation.
Record the date, property/unit, fixture, test method, symptoms, debris removed, and repair status. For Jacksonville multifamily properties, include the floor and whether nearby units report similar trouble. At move-in and move-out, photograph visible damage while keeping personal belongings out of the frame. Retest after clearing or repair, and record the result before closing the work order. If drains are clear, move on to faucet drips and fixture leaks.
5. Check Faucets for Drips and Leaks
After checking drains, test each faucet’s flow and shutoff. During quarterly visits and at move-in and move-out, inspect every kitchen, bathroom, laundry, utility, garage, and exterior faucet – including fixtures that rarely get used. Test both hot and cold handles if they’re separate.
Wipe each fixture dry, then run the water for 30–60 seconds. Check the spout, stems, base, aerator, and nearby surface for leaks, loose parts, or mineral buildup. Turn the water off and watch for several minutes to make sure the spout stops dripping completely.
Check under-sink connections and the cabinet below while the water runs. First, dry the sink, supply lines, and cabinet surfaces so new moisture is easy to spot. Place a dry paper towel beneath the connections to catch slow seepage. Look for wet cabinet floors, swollen particleboard, or damp insulation.
A faucet should deliver steady, strong flow, shut off completely, and stay dry around its exterior and supply connections. If the aerator is clogged, clean it when appropriate, keeping its screen and gasket intact. If flow stays weak, check the supply valve, supply line, water pressure, or cartridge.
Schedule repairs for persistent drips, leaking handles, a loose base, or active supply leaks. According to EPA WaterSense, a faucet dripping once per second can waste more than 3,000 gallons a year. Shut off the fixture’s water supply before taking it apart. Use a licensed plumber for corroded connections, repeated repair failures, or recurring or concealed problems.
For move-in and move-out records, document the fixture’s location, condition, symptoms, photos, responsible party, parts needed, priority, repair status, and completion date. Worn washers, O-rings, or cartridges may be the cause. After repairs, retest hot and cold operation, confirm complete shutoff, and check that the area stays dry before closing the work order. Next, test toilets for flush performance and silent leaks.
6. Test Toilet Flushing and Check for Silent Leaks
Test every toilet quarterly and at move-in and move-out to help limit water waste and damage. Include guest bathrooms, half-baths, vacant units, and toilets that rarely get used.
Flush once and watch the entire cycle. The bowl should clear, the tank should refill, and the water should stop running. Note weak flushing, high bowl water, a sticking handle, hissing, or repeated refilling.
Once the tank refills, carefully lift the lid and add dye tabs or food coloring according to the label directions. Wait 5–10 minutes without flushing, then check the bowl. Color in the bowl means water is leaking past the flapper or flush-valve seal. Flush afterward to prevent staining.
Check the tank and bowl for cracks, and gently rock the toilet to see if it moves. Inspect the shut-off valve, supply line, tank-to-bowl connection, and base for moisture or corrosion. Watch for soft flooring, stains, and musty odors, too. Condensation can occur in Westside Jacksonville’s humidity, but treat moisture after flushing as a leak until it’s checked.
Repair running or unstable toilets promptly. Worn flappers, tangled chains, or faulty fill valves may need attention. Have a qualified plumber address cracked porcelain, rocking, base leaks, or damaged flooring. Do not overtighten the closet bolts. Stop using any toilet that leaks onto the floor, and shut off its water supply if water keeps flowing.
Record each toilet’s location, flush and refill behavior, dye-test result, stability, cracks, and moisture findings. Photograph defects and add them to the work order. After repairs, repeat the flush and dye tests and confirm that the base and connections stay dry. Record the completion date – not just the repair invoice. After the toilet checks, move to the water heater.
7. Check Water Heater Condition and Safety
After checking the toilets, move to the water heater before inspecting exterior plumbing.
Inspect the water heater quarterly, at move-in, and at move-out. Check only accessible components. Look for drips, rust, mineral buildup, or swelling on the tank or cabinet, connections, shutoff, drain valve, and temperature-and-pressure relief (T&P) discharge piping. Check visible insulation for moisture, damage, or contact with hot components. Keep controls accessible and service clearances free of obstructions.
If a drain pan is installed, check for standing water, cracks, rust, and a blocked drain connection. Any water under the tank or recurring dampness calls for a licensed plumber.
Visually check the accessible T&P valve and discharge pipe. The pipe must remain unobstructed, drain by gravity, and end where discharge is visible. Never cap it or connect it to a drain. Don’t lift the valve lever during this routine inspection – an older valve may not reseat. Have a qualified plumber address missing piping, recurring discharge, or improper routing.
Report scalding water, temperature swings, or no hot water for professional evaluation. Don’t touch wet electrical components or remove access covers. On gas units, flag damaged venting, soot, or scorch marks. If you smell gas, leave the area, avoid switches and flames, and follow the utility’s emergency instructions.
Record the inspection date, unit location, model, serial number, fuel type, approximate age, visible condition, and service history. Photograph the label, connections, pan, relief piping, and defects. Mark inaccessible details as unverified and track repairs through completion.
Review the manufacturer’s instructions for flushing, anode-rod checks, and other service needs. Schedule professional service at least annually, and have the technician confirm the tasks required for that model.
Next, check hose bibs and exterior connections.
8. Check Hose Bibs and Exterior Connections
Check every exterior faucet quarterly, at move-in and move-out, and after severe weather when it’s safe. Remove hoses, splitters, and timers before testing, but leave backflow devices in place. Run each faucet for 30–60 seconds, shut it off, and check for leaks at the handle, outlet, and opening through the wall.
Look for cracked fittings, damaged threads, corrosion, loose mounting screws, unsupported pipes, and worn caulk. Make sure vacuum breakers or other approved backflow devices are intact. Keep hose ends out of pools, buckets, and chemical solutions to prevent backflow contamination.
Don’t assume pooling near foundations or crawl spaces is rainwater, especially during Jacksonville’s rainy season. Check both sides of each connection for dampness, stains, or musty odors. Arrange prompt repairs for persistent drips or loose fittings, and avoid overtightening. Water entering a wall, pooling, or signs of an underground leak call for a licensed plumber or leak-detection professional.
Before freezing temperatures are forecast, disconnect and drain hoses, remove accessories, and insulate exposed piping at risk of freezing. If the exterior line has a dedicated shutoff, close it and drain the line if the system allows. Never thaw pipes with an open flame. Check for freeze damage before restoring full service.
Record each faucet’s location, test date, backflow-device condition, photos, weather, pooling, and any leaks during use or after shutoff. Link the findings to a work order and document the post-repair retest. Next, check irrigation lines and backflow equipment.
9. Check Irrigation Lines and Backflow Equipment
After checking hose bibs, inspect any irrigation system that shares the same exterior water service. Check irrigation systems quarterly and after leaks, unexplained water use, wet spots, or irrigation failures. Run each zone during an allowed watering window rather than relying on the programmed schedule alone. Before testing, verify current City of Jacksonville, JEA, or St. Johns River Water Management District rules.
Walk each zone while it runs. Inspect risers, heads, drip tubing, valve boxes, and connections. Look for leaks, broken or tilted heads, clogged emitters, cracked fittings, disconnected tubing, and missing covers. Check for overspray onto hardscapes, buildings, or neighboring property. Confirm that every head works and each zone shuts off completely. Then check the system’s valve box and backflow assembly.
Open valve boxes carefully. Look for standing water, mud, broken lids, exposed wiring, damaged valves, leaking unions, and roots growing into the box. Never leave an open box unattended. Replace the cover when finished, and flag hazards or inaccessible boxes for repair.
A visual check does not replace required backflow testing. Confirm that the assembly is present, accessible, properly supported, and free of visible damage or leaks. Arrange certified testing when the utility or local program requires it, and after installation, repair, replacement, or suspected failure.
Record results for each zone, along with the watering schedule, controller settings, backflow status, and responsible party. Keep irrigation repairs in separate work orders so owner, HOA, landscaper, and plumbing responsibilities are clear. Attach backflow test reports, track repair deadlines and the next test date, and rerun affected zones before closing repair orders. Include these findings in the move-in or move-out record.
10. Check Washer and Appliance Plumbing
Check included appliances during scheduled maintenance and turnover. Hidden leaks often start behind cabinets and walls. Use a flashlight to inspect accessible connections and cabinet floors for moisture, stains, or swelling. Don’t pull or tilt heavy appliances alone. Record any connections you can’t reach and arrange service with a qualified technician.
Washer plumbing failures often appear at move-in, move-out, or after tenant use. With the washer off, inspect supply hoses for cracks, bulges, corrosion, kinks, and strain. Confirm that both shut-off valves work. Check the drain hose and standpipe, then run a short fill-and-drain test to check for leaks or overflow. Follow the model’s manual for drain-hose insertion depth, and don’t tape or seal the hose into the standpipe.
Next, check the kitchen appliance water lines:
- Dishwasher: Inspect the accessible supply valve, supply line, drain hose, and air gap or high loop against the manual and local code. Run a fill-and-drain test, then check beneath the sink for leaks or backup.
- Refrigerator: Look for cracked tubing, mineral deposits, tight bends, and damp fittings. Operate the dispenser when practical, then check again for drips.
After confirming it’s safe, run sink water and briefly operate the disposal. Check its body, sink flange, dishwasher inlet, discharge tube, and drain joints for leaks. Never put your hands inside the disposal. Shut off power before service, and leave jams, electrical problems, or cracked equipment to a qualified technician.
Stop testing if water appears beneath an appliance or a drain overflows. Shut off the water supply if safe, protect the floor, and arrange repairs using manufacturer-approved parts and instructions.
In the turnover log, record the appliance, test, photos, shut-off location, defects, repair date, and parts installed. Clearly mark equipment that wasn’t tested. After repairs, repeat the operating test to confirm the connections stay dry, then move to the final inspection records.
11. Check Sewer Cleanouts and Backup Warning Signs
After checking fixture drains, look for signs of sewer-line trouble. Visually check accessible sewer cleanouts at least quarterly and after any sewer-related complaint, storm, or landscaping work. Look for cracked, displaced, or missing caps, along with overflow stains, wastewater, wet soil, or sewage odors.
Do not open a cleanout that may be backed up. A blocked line can hold wastewater under pressure, and removing the cap can suddenly release sewage. Multiple slow drains, repeated gurgling, or wastewater rising in another fixture may point to a main line or septic problem.
If sewage is discharging or several fixtures are backing up, stop all water use in the affected rental immediately. Keep people and pets away from contaminated areas. Don’t use chemical drain cleaners, and promptly contact an emergency plumber or septic professional.
Document cleanout locations with photos. Record tenant reports, affected units, shared drains, previous backups, and the last service date. Note whether the property uses JEA sewer service, another municipal system, or septic. Have the plumber or utility locate the blockage before assigning responsibility.
Mark a visual pass only when caps are intact and no warning signs are present. This confirms surface conditions only – not the condition of underground pipes. Flag blocked access, damaged caps, recurring symptoms, or missing service history for follow-up. Recurring problems should prompt a camera inspection.
Keep the contractor’s diagnosis, invoices, and repair records. Use photos and the diagnosis to track repairs, and enter the findings in the turnover log for the move-in or move-out inspection.
12. Record Move-In and Move-Out Plumbing Conditions
Create the move-in or move-out condition report from your inspection results before cleaning or repairs change the evidence. Follow the same inspection sequence and test the same fixtures under similar conditions. Note whether each item – including cabinet plumbing – is present, accessible, and working.
Document the exact location and severity of stains, corrosion, missing parts, loose connections, and alterations. Take a room-view photo, a fixture-level photo, and a close-up. Use a ruler to show the size of any damage, and keep the original, dated files – not just images sent by text.
Before assigning responsibility, compare both reports alongside the fixture’s age, maintenance history, and repair requests. This helps establish whether a leak, stain, or failed fixture existed before occupancy. Distinguish between pre-existing defects, wear, deferred maintenance, misuse, alterations, and unreported leaks. If the cause is unclear, have a licensed professional assess it before assigning charges.
Resolve active leaks, unusable toilets, severe drainage problems, failed shut-off valves, and unsafe water-heater conditions before occupancy. Retest every repaired item, then record the result and completion date. Keep the signed condition report, tenant comments, work orders, and invoices together. Get the tenant’s acknowledgment, document any disagreements, and give them a copy.
Use the completed plumbing checks to prepare the tenant handoff packet. At move-in, show tenants the main and fixture shut-offs, including under-sink, toilet, and water-heater valves. Provide written emergency contacts and after-hours instructions for burst pipes, flooding, and water-heater failures. Explain how to submit routine repair requests, and tell tenants to report moisture or musty smells immediately.
Conclusion: Schedule Checks and Confirm Repairs
Put the next checks on the calendar. These intervals are guidelines, not legal requirements. Adjust them to follow applicable laws, lease terms, insurance conditions, and manufacturer instructions. Use this schedule to follow up on findings from the 12-task checklist.
| Timing | Suggested follow-up |
|---|---|
| Routine observations | Review observations monthly and whenever a maintenance request arrives. Ask tenants to report leaks, odors, running toilets, or water loss immediately. |
| Quarterly | Check accessible pipes, valves, fixtures, drains, appliance lines, hose bibs, and irrigation connections. |
| Annually | Confirm that annual water-heater service is scheduled and documented. Test installed leak-detection or flow-monitoring systems as directed. |
| Every turnover | Compare move-out and move-in records, retest fixtures, photograph defects, complete repairs, and confirm the unit is rent-ready. |
Assign each finding a response level so everyone knows what needs to happen next.
| Response | Findings | Next action |
|---|---|---|
| Monitor | Early corrosion without leakage, minor faucet seepage, slight pressure variation, or a slow but usable drain | Record the finding, set a recheck date, and investigate sooner if it changes. |
| Schedule repair | Persistent drip, slow drain, faulty shut-off valve, running toilet, deteriorated hose bib, or water-heater corrosion | Create a work order, assign a qualified vendor, set a completion date, and verify the repair afterward. |
| Urgent action | Burst pipe, uncontrolled leak, sewage backup, failed water heater, loss of essential water service, or flooding near electrical equipment | Arrange immediate help, protect the property from further damage, and shut off water only if safe. |
Add a “repair verified” field to each work order, along with the completion date, technician, invoice, and test result. Keep requests open until you verify that the work is complete.
For Jacksonville rentals, focus on catching leaks early, addressing urgent risks, completing repairs, and keeping clear records. Turn inspection findings into work orders, arrange vendor access, and verify repairs before closing requests.
1 Realty Management can coordinate maintenance records, vendor access, repair deadlines, and turnover prep in Jacksonville. Check whether your management agreement includes plumbing inspections, emergency response, or licensed repair work.
FAQs
Who pays for plumbing repairs in a rental?
In Florida, who pays for plumbing repairs depends on the cause and the lease terms. Landlords generally cover repairs caused by normal wear and tear to keep the property fit to live in.
Tenants are typically responsible only for damage caused by their misuse, neglect, or changes made without permission. Before charging a tenant, check that the lease provision is valid and fully document what caused the damage.
How much notice do Jacksonville tenants need before inspections?
For routine inspections in Jacksonville, plan to give tenants at least 24 hours’ notice. Florida law requires that notice for repairs, and it’s also the baseline for routine inspections unless your lease says otherwise.
Schedule visits during reasonable hours, typically 7:30 a.m. to 8:00 p.m. Give tenants written notice stating the reason for the visit, the date, and your expected arrival window.
Can leak detectors help prevent rental property damage?
Yes, leak detectors can help prevent major rental property damage by spotting plumbing leaks early. In Jacksonville, high humidity and moisture can soon lead to mold growth. Detecting small drips under sinks or around water heaters before they get worse can help you avoid costly emergencies and structural water damage while protecting your investment and keeping the property habitable.